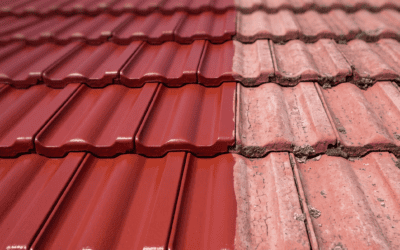
Pressure washing a tile roof looks simple. Point the lance at the dirty tiles, pull the trigger, and watch decades of grime disappear. The before and after photos are satisfying. The clean roof looks brand new.
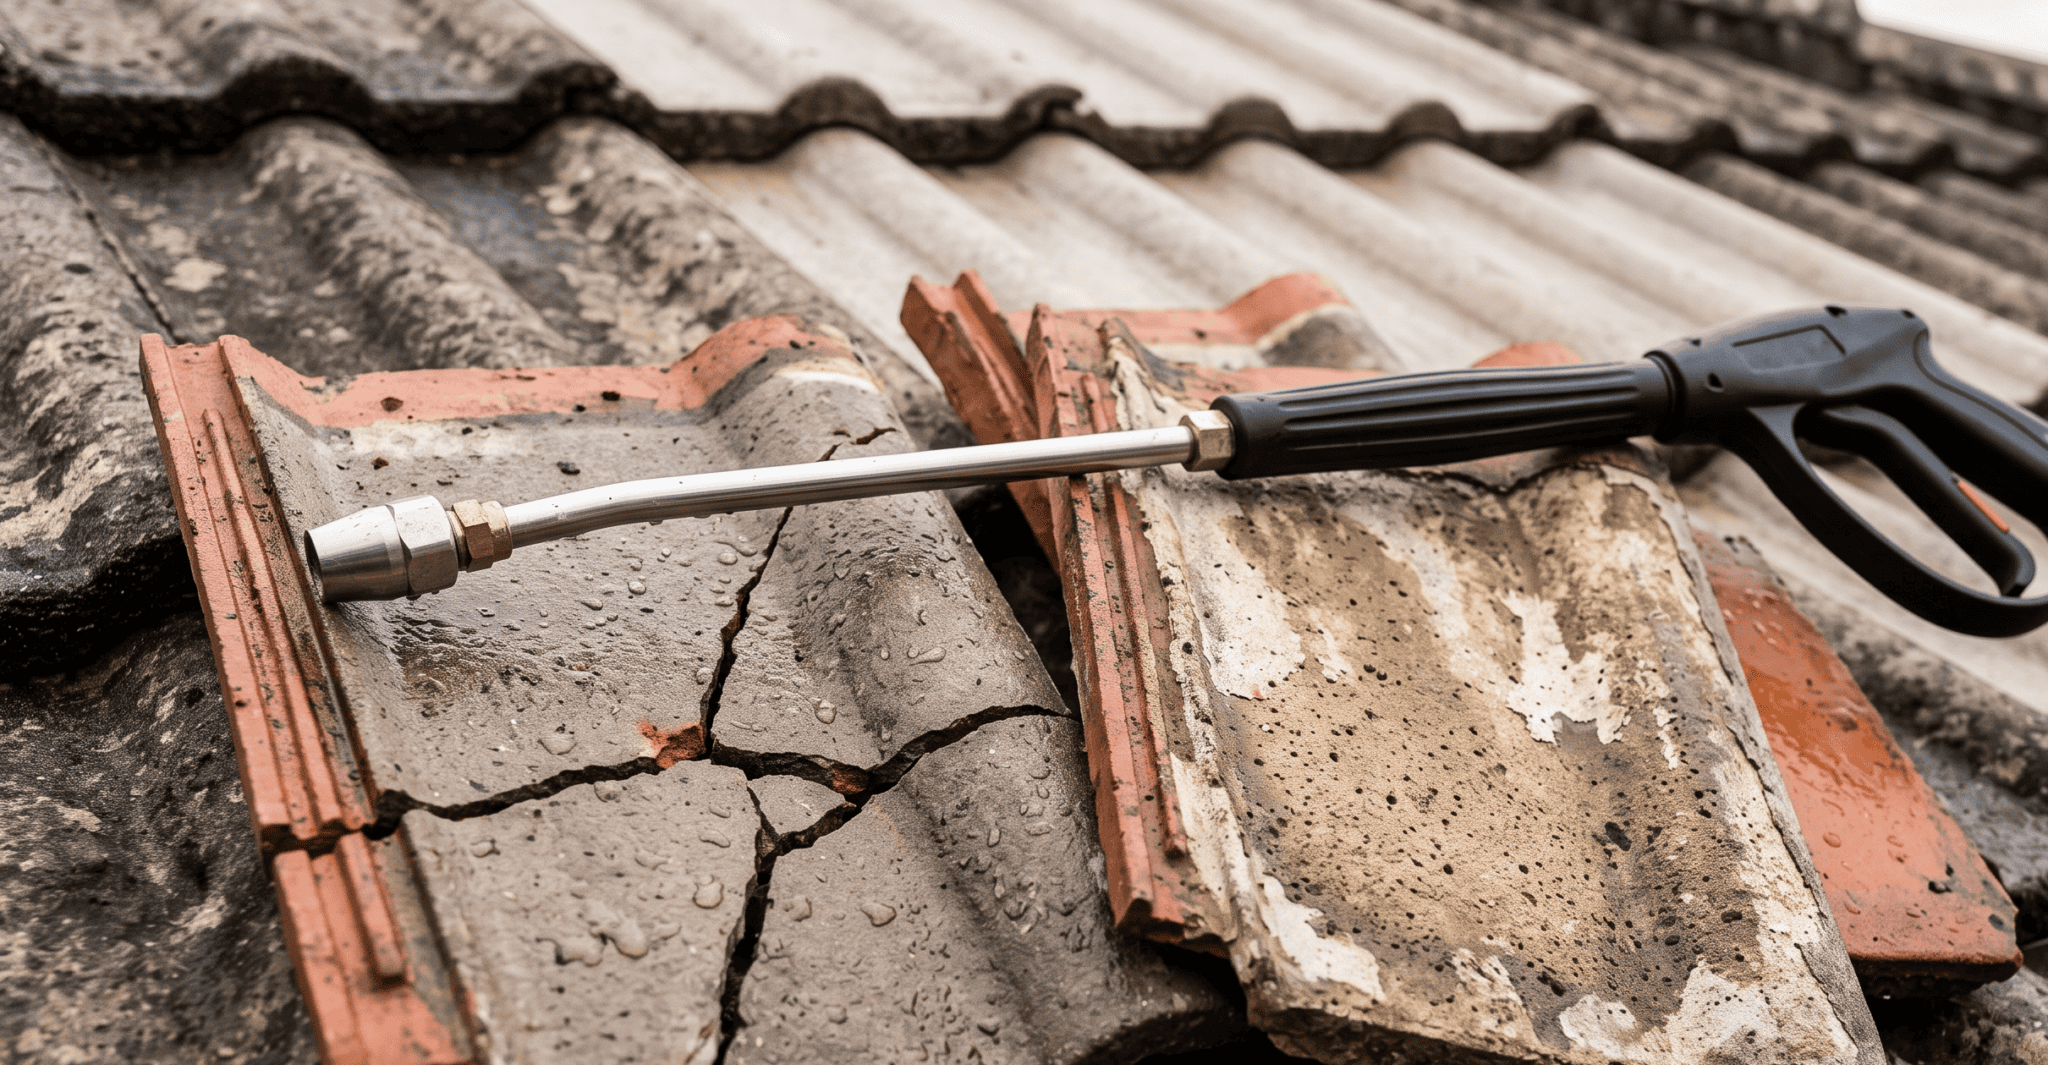
But behind those photos, a lot can go wrong. Pressure washing done incorrectly cracks tiles, strips protective coatings, forces water into the roof cavity, and creates damage that costs thousands to repair. Some of the worst roof problems we see at Roof Tile Recyclers started with a pressure washing job that went sideways.
This article covers the most common mistakes and how they lead to expensive damage.
Mistake 1: Using Too Much Pressure
This is the most frequent error and the one that causes the most damage.
A professional pressure washer used for roof cleaning typically operates between 2,000 and 3,000 PSI, depending on the tile type and condition. Some operators use machines rated at 4,000 PSI or higher, which is appropriate for commercial concrete cleaning but excessive for roof tiles.
Concrete roof tiles have a surface coating (acrylic or oxide based) that gives them their colour and provides a degree of water resistance. High pressure stripping that coating off the tile, leaving the bare concrete exposed. Once the coating is gone, the tile becomes more porous, absorbs more water, fades faster, and deteriorates sooner.
Terracotta tiles are harder than concrete but more brittle. Excessive pressure can chip edges, crack the tile body, and damage glazed surfaces. A cracked terracotta tile is not repairable. It needs replacing.
The right approach is to use the minimum pressure needed to remove the dirt, moss, and biological growth without damaging the tile surface. An experienced operator adjusts the pressure based on the tile condition, not just the machine’s maximum output.
Mistake 2: Washing in the Wrong Direction
Water direction matters on a tile roof. Tiles overlap from top to bottom, with each course sitting on top of the one below it. Water running down the roof follows these overlaps and flows safely into the gutter.
When a pressure washer operator washes uphill (pointing the lance up the roof slope), the high pressure water is driven underneath the tile overlaps. It gets behind the tiles, saturates the sarking (if present), soaks the battens, and enters the roof cavity.
The result is water inside the ceiling space. It may not show up immediately, but over the following days, stains appear on the ceiling, insulation gets wet, and in some cases, mould begins to grow in the roof cavity.
The correct technique is to wash downhill, following the direction of water flow. The lance should be angled so that water runs down the tile face and off the edge, not up under the overlaps.
Mistake 3: Standing on Fragile Tiles
Pressure washing a roof requires someone to stand on it. For a roofer who walks on tiles every day, this is routine. For a general handyperson or a homeowner with a hired pressure washer, it can be a problem.
Concrete tiles from the 1970s and 1980s are often more brittle than they look. The surface may appear solid, but the concrete has weakened over decades of UV exposure and moisture cycling. Walking on the high points of the tile profile (the ridges on a low or high profile tile) distributes weight safely. Stepping on the flat unsupported sections between battens can crack the tile.
Every cracked tile needs replacing. If the operator cracks five or ten tiles during the wash, the cost of replacement tiles and labour to install them adds to the total job cost. If the tile profile is discontinued, finding replacements becomes a sourcing exercise that can delay the project.
Mistake 4: Ignoring the Ridge and Pointing
Pressure washing removes more than just dirt from the tile surface. The high pressure water can also dislodge and damage the pointing along the ridge caps and hips.
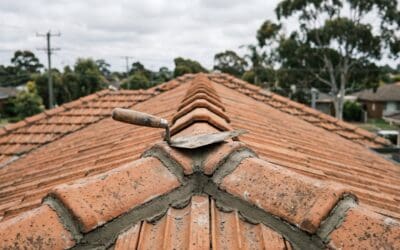
Ridge pointing is the mortar seal between the ridge caps and the field tiles. It is already under stress from thermal cycling and weather exposure. A direct hit from a pressure washer can crack or blow out sections of pointing that were weakened but still functional.
After the wash, the roof looks clean but the ridge may be compromised. The homeowner does not realise this until the next heavy rain, when water enters through the damaged pointing and causes a ceiling leak.
Any roof that is being pressure washed should have its ridge and pointing inspected afterward. If the pointing was already in marginal condition before the wash, it should be repointed as part of the same job.
Mistake 5: Washing Without a Plan to Reseal
Pressure washing strips biological growth, dirt, and loose material from the tile surface. That is the point. But it also removes the remaining surface coating on concrete tiles, leaving the tile more porous than it was before the wash.
If the tile is left in this exposed state, it will absorb more water during rain, fade faster, and develop new moss and algae growth sooner. The clean appearance from the wash will be short lived, and the tile condition will actually be worse than before because the protective layer is gone.
Professional roof restorations follow the pressure wash with a sealer or primer coat and then a fresh roof coating. This replaces the protective layer and gives the tiles a new surface to resist UV and moisture.
Homeowners who pressure wash their roof without resealing are effectively stripping the tiles and leaving them unprotected. The short term clean look comes at the cost of accelerated long term deterioration.
Mistake 6: Blocking the Gutters and Downpipes
Pressure washing a roof pushes a large volume of debris (moss, lichen, dirt, loose paint) down the roof and into the gutters. If the gutters and downpipes are not cleaned out before and after the wash, the debris creates blockages.
Blocked gutters overflow during rain, which can damage fascia boards, soffits, and external walls. Blocked downpipes can cause water to back up into the gutter and overflow at points where the gutter joins the fascia.
A proper roof wash includes clearing the gutters of debris after the washing is complete. Some operators also cover the downpipe openings during the wash to prevent debris from entering the drainage system.
Mistake 7: DIY Without Experience
Pressure washers are easy to hire. A homeowner can pick one up from a tool hire shop for under $200 a day. The temptation to save money by doing the roof wash yourself is understandable.
But roof washing is not the same as washing a driveway. The consequences of mistakes on a roof are more severe (structural damage, water ingress, cracked tiles) and more expensive to fix. The risk of injury from working at height with a high pressure lance adds a safety dimension that should not be underestimated.
If you decide to wash your own roof, use the lowest effective pressure, wash downhill only, avoid standing on unsupported tile sections, and plan to reseal the tiles afterward. If any of those steps are unclear, hire a professional.
What Pressure Washing Should Look Like
A properly executed roof pressure wash follows a consistent process.
The roof is inspected before washing. Cracked or loose tiles are identified and noted. The condition of the ridge pointing, valley irons, and flashings is assessed. Any issues are flagged for repair before or during the job.
The gutters are cleared before and after the wash. Downpipe covers are fitted if needed.
The washing is done from the ridge down, following the direction of water flow. Pressure is adjusted to suit the tile type and condition. The operator moves methodically across the roof, covering each section without revisiting areas unnecessarily.
After washing, the ridge and pointing are inspected. Damaged pointing is repaired. Cracked tiles are replaced. The tiles are allowed to dry fully before any coating or sealer is applied.
Need Replacement Tiles After a Wash?
If tiles were cracked during a pressure wash and need replacing, Roof Tile Recyclers can supply matching tiles in both new and recycled options. We also stock pressure washing equipment for trade operators.
Contact us for tiles, equipment, or advice.